It’s Week 6 of the One Room Challenge Laundry Room makeover and we are getting down to the wire. I didn’t do a blog post the last two weeks because we were out of town one week and I had other design work to complete, so this is mash up of what I have accomplished.
Now we’re at freakin’ Week 6!
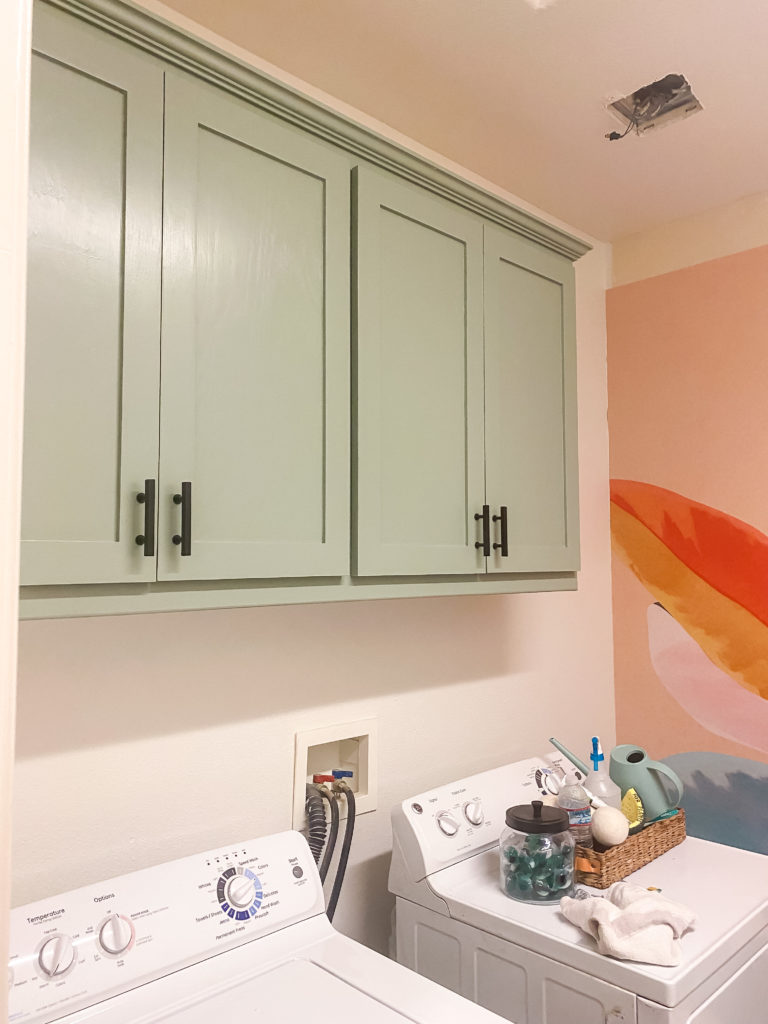
There is one built-in cabinet above the washer and dryer that got a big glow up and I’m going to share my steps for painting cabinets.
I have painted our Kitchen cabinets and the vanity in the Hall Bathroom I did for last years ORC that you can see below.
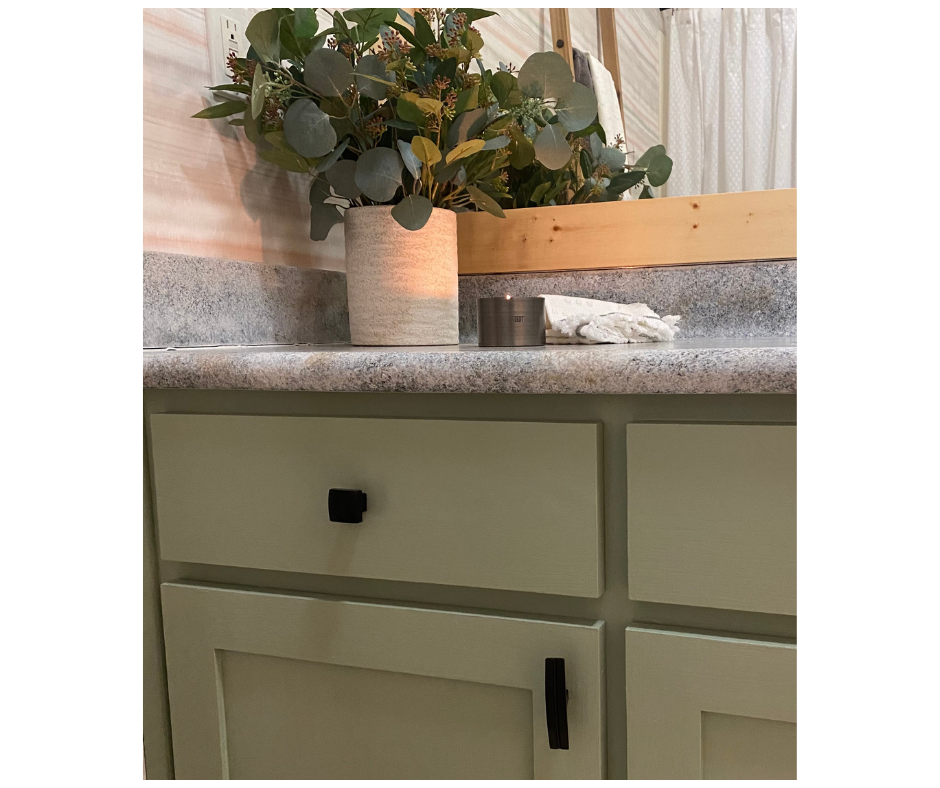
For this Laundry Room, I am using the same paint color (SW Coastal Plain), since it is directly across from the last Springs’ bathroom to have some cohesiveness in this part of the house.
We have a paint sprayer, but since this is just one upper cabinet, I used a foam roller and paint brush.
My Tips For Painting Cabinets
- Give them a good cleaning. You can use Krud Kutter, TSP or Dawn Dish Soap and warm water to remove dirt, grease, etc. Let dry completely.
- Remove doors and hinges. I put screws and hinges in zip lock bags or small plastic containers for safekeeping.
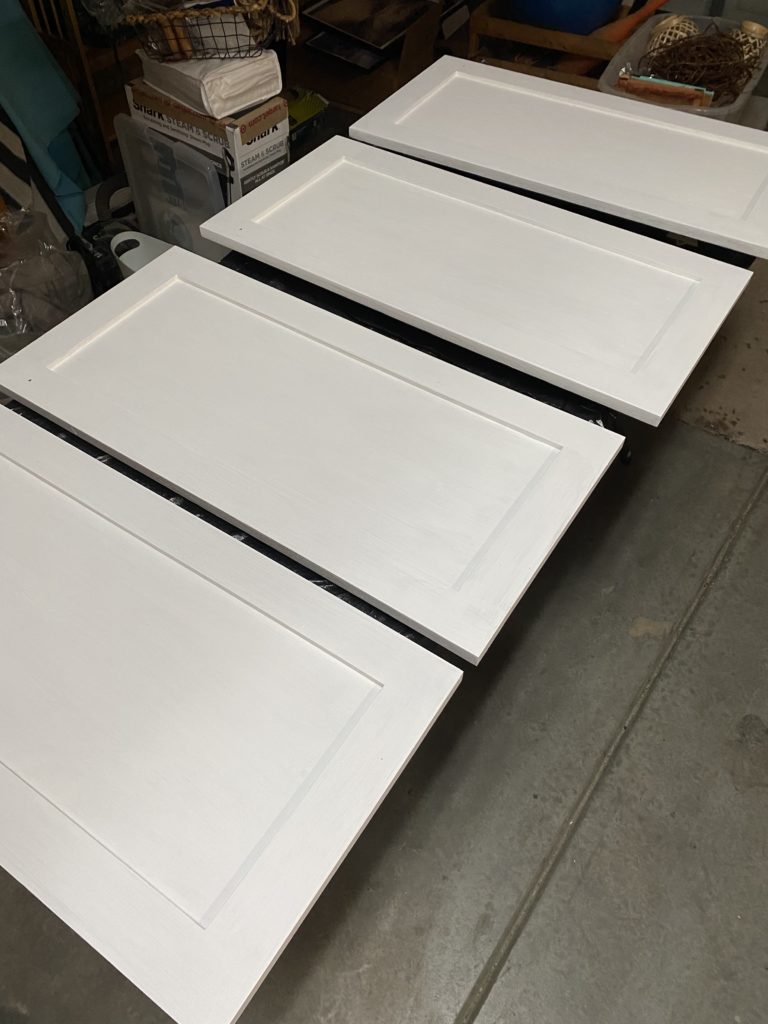
- Primer – Prep is the key to success, just like any painting project but especially for cabinets. Two coats of primer. Make sure to lightly sand any drips or lint/hair that might settle on your cabinet base or doors. We have a dog that sheds so I’m always removing hair!
- Add your first coat of paint. I use a good quality cabinet paint. Either Sherwin-Williams or Benjamin-Moore are two of my favorites. They are self leveling and will give you a smoother, more durable finish. I use a foam roller (for smooth finishes) and a quality angled 2″ paint brush.
- I prop my cabinet doors up on a flat surface, the ground or a table, using plastic triangles you can get at Home Depot or Lowe’s. They hold your doors up off whatever surface you’re working on and make it easier to paint the edges. Paint one side, let dry and flip. Flipping from front to back after each coat dries.
- Lightly sand between paint coats wherever drips or raised paint edges form.
- Add second coat of paint and let dry.
- After completely dry, gently re-hang cabinet doors.
- Attach hardware
- Stand back and admire your work…maybe take a picture or four!
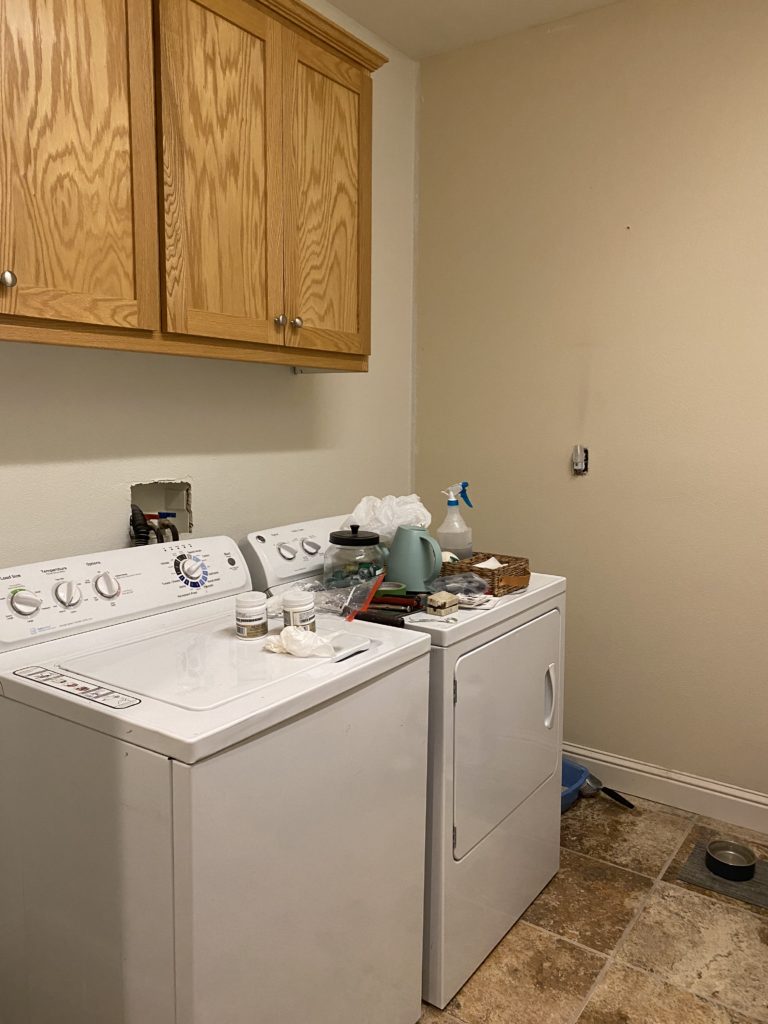
Here’s the Before
Cabinets with Primer

First coat of paint
Cue the Jeopary music here as you’re waiting for paint to dry!
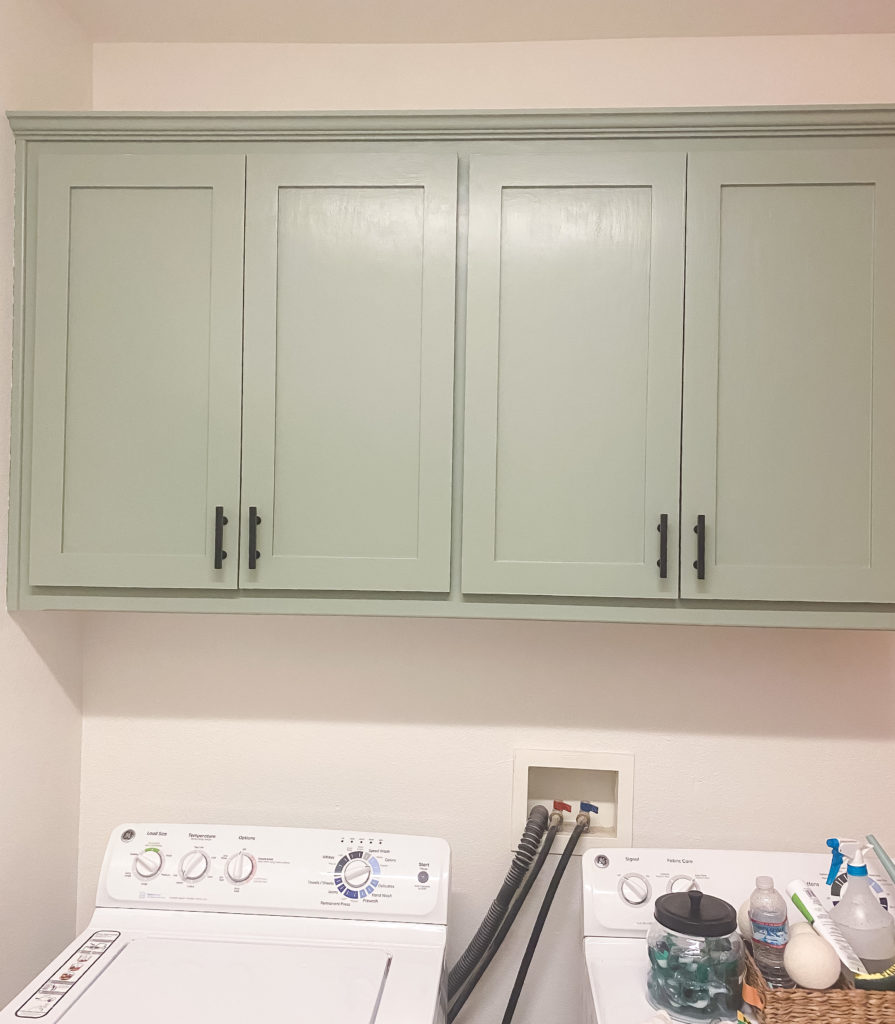
Paint dry, doors hung back up and new hardware attached.
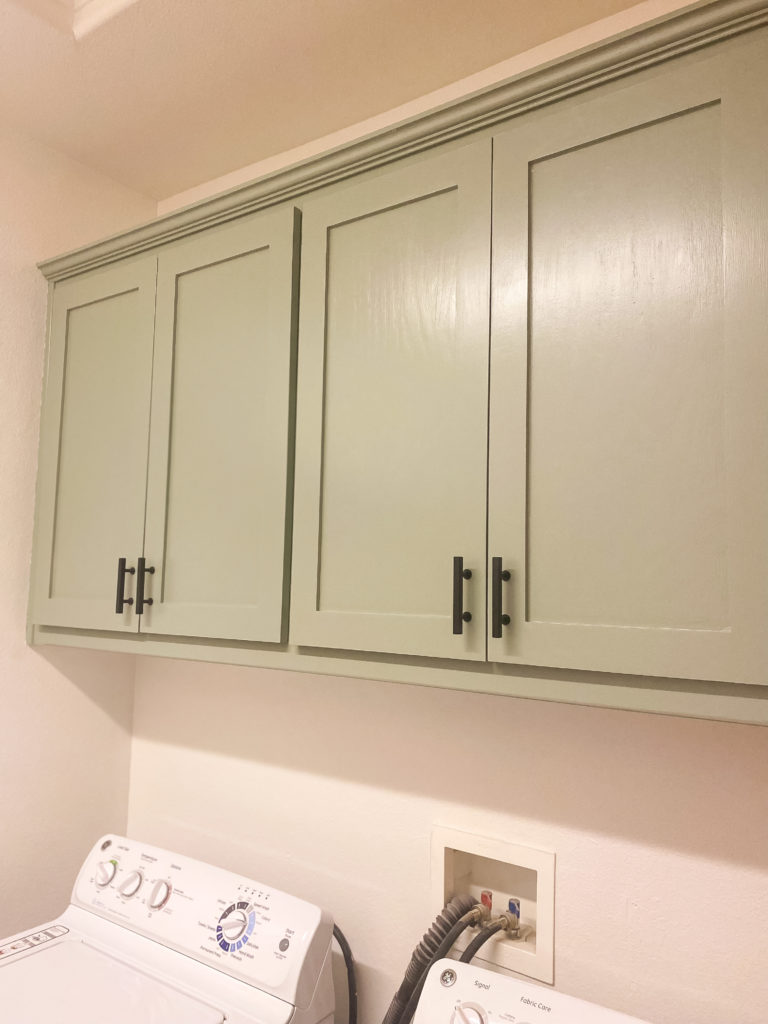
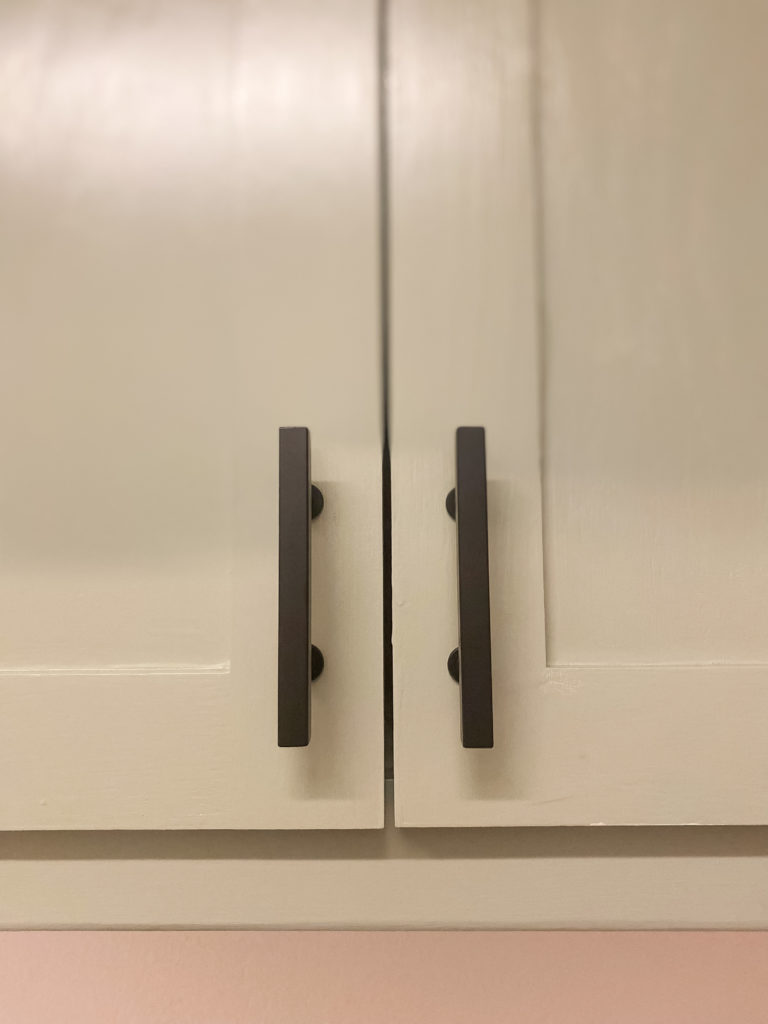
Love this hardware I found at Home Depot!
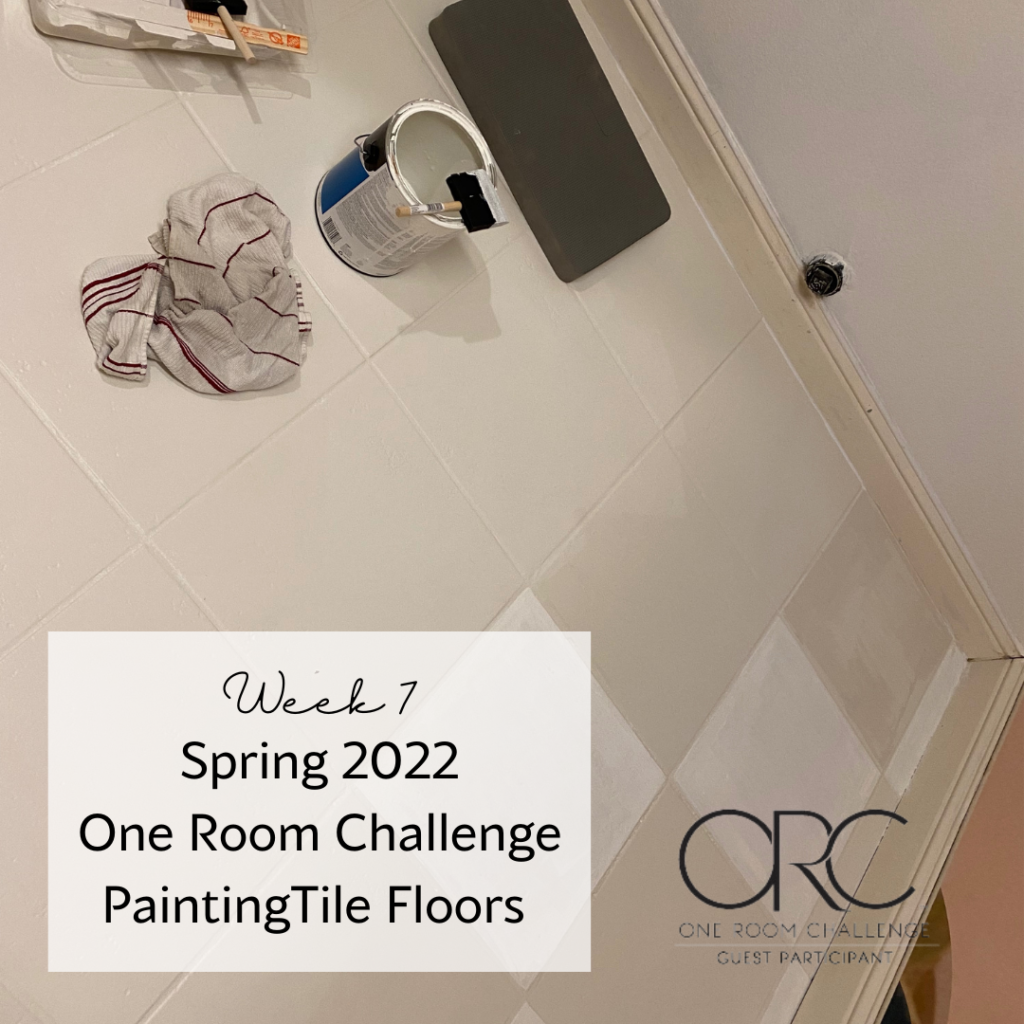
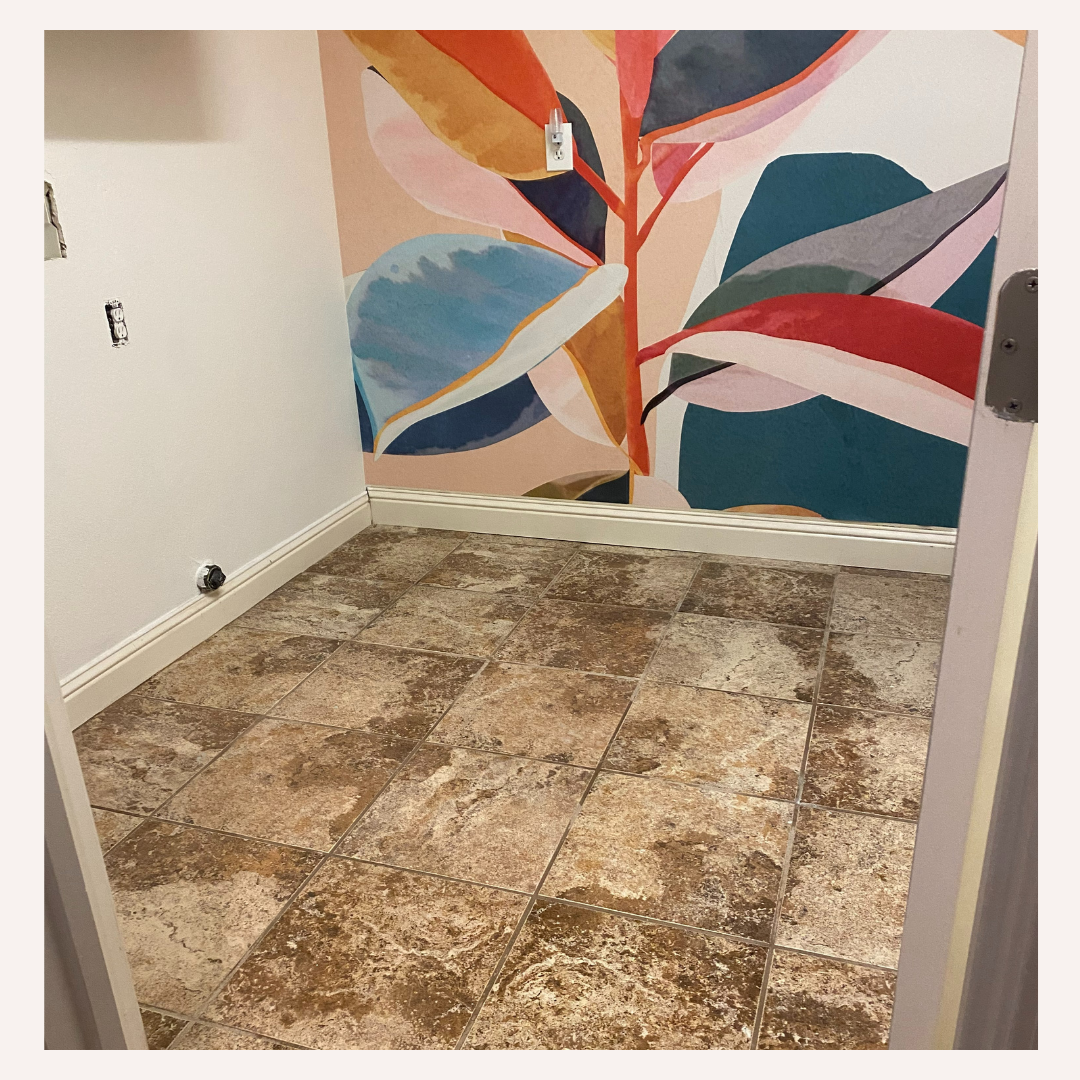
Next up…Painting the tile floor
Building a new Pantry Cabinet
Thank you for following along. You can check out the other Guest Participants here. You won’t believe the transformations!
Follow along on Instagram here and check back for Week 7
